
I love to use thread and sew elements on my digital or scrapbooking pages and my favorite digital stitches are from True To Yourself by Pink Reptile Designs.
This month, I will show you how you can use digital stitches as a pattern to add "real sewing" to your paper page!

First I created my digital layout in Photoshop. I put the stiched element in place.

I erased some parts of the stitches to obtain the pattern that I wanted

Then I created my background with paint from Lucky In Love and I added a grey square where I wanted to add my photo after I printed the layout.

I finished my digital layout by adding a few elements from Nuts About Fall.

This is what my finished digital looked like:

Now I printed the page on white textured cardstock.

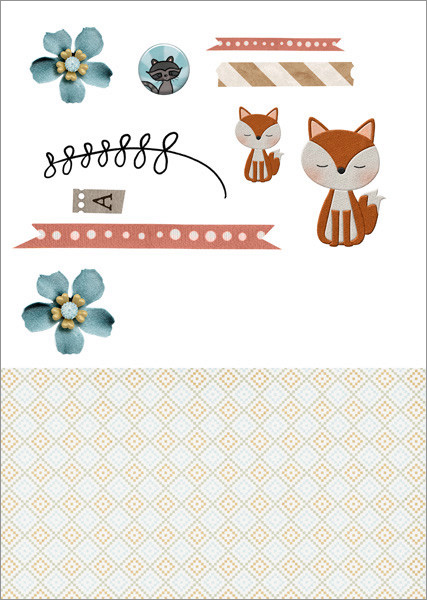
And I also printed a selection of elements from Nuts About Fall to cut out and add to my printed page.
Then I put in place my sewing machine to add some real stitching on my paper layout. The printed stitches help me to sew the beautiful pattern on my page.


This is what it looks like when all stitches are done.

Now all I need to do is add a few of the elemenst that I cut out of the printed sheet.

A bit of 3D tape underneath that cute blue flower.

And here's another close up of the stitches.

And voilá! Here's my finished page!

As always I hope you enjoyed my post and if I inspired you in any way, shape or form then by all means make a photo of your project and upload it to your gallery so you can leave a link in the comment section below! I'd love to see what you made!
No comments:
Post a Comment